Together with THE PUPPETEER, a great Bondage Master from the Netherlands, we present you some Basic Bondage Know-How. Last time we showed you how to do a Hip Harness. This was the first of our two part tutorial. Now we’re going to continue where we ended.

Video Tutorial
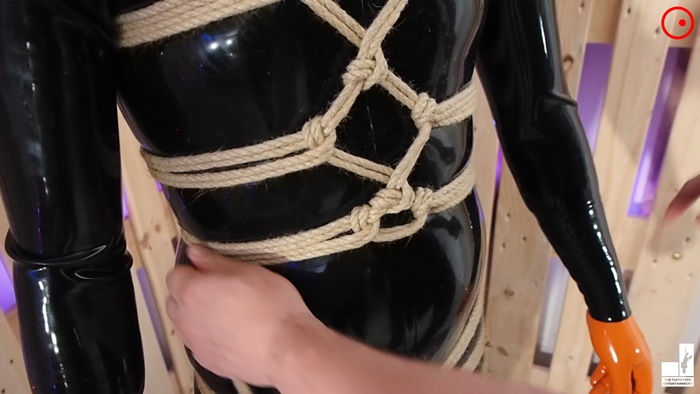
This is something everybody has seen (and many wish to be in) at some point. It’s kind of a bondage icon, really. It looks beautiful and intriguing. Kinda like clothing, but yet still a restriction. Let’s see how it’s made, shall we?
Written Tutorial
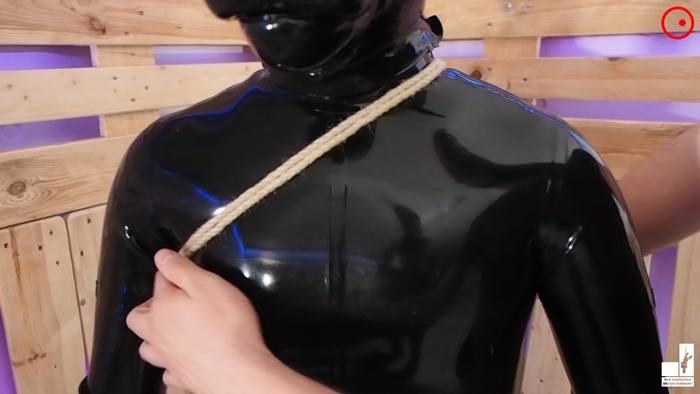
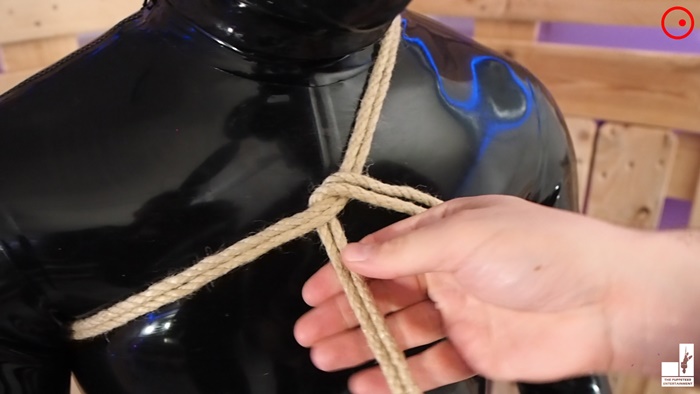
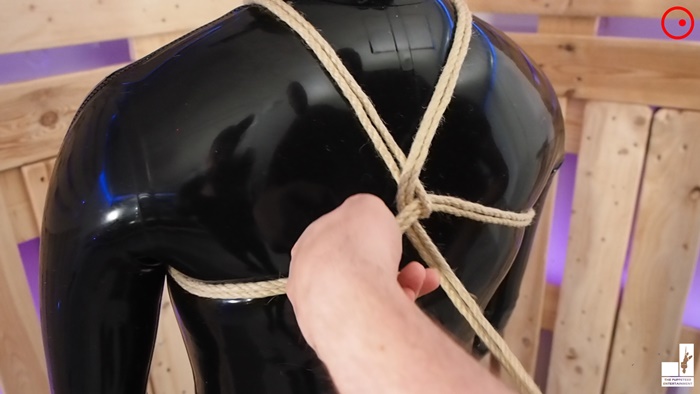
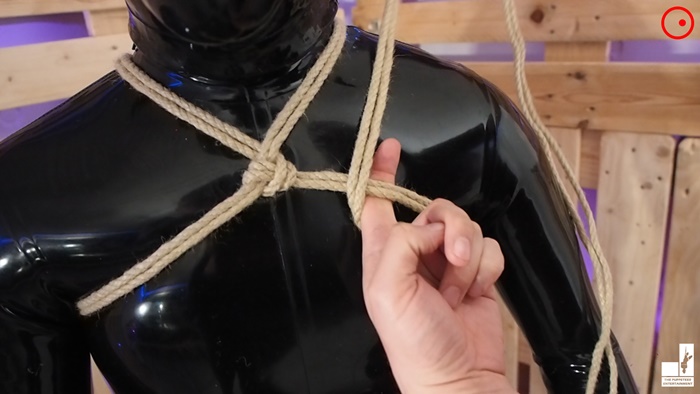
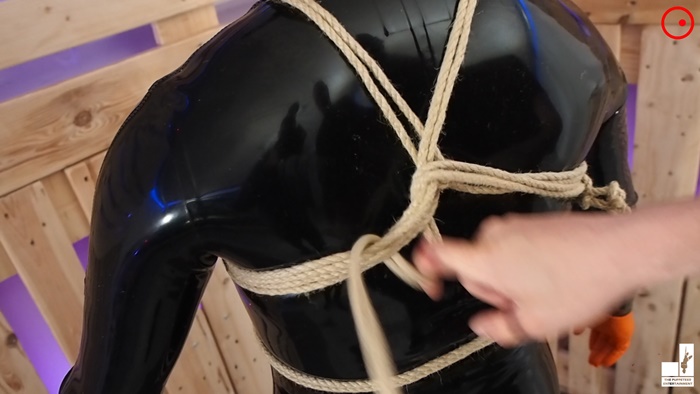
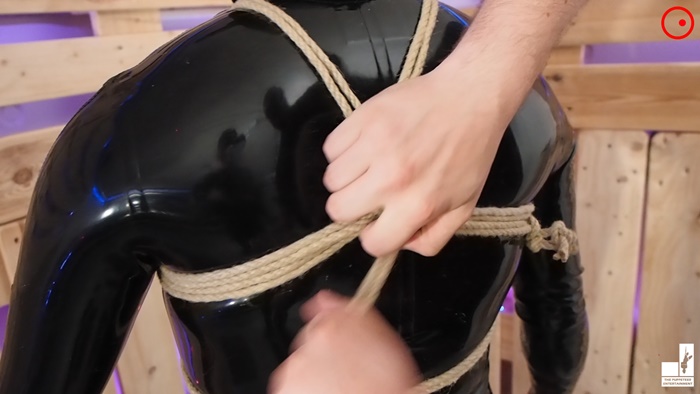
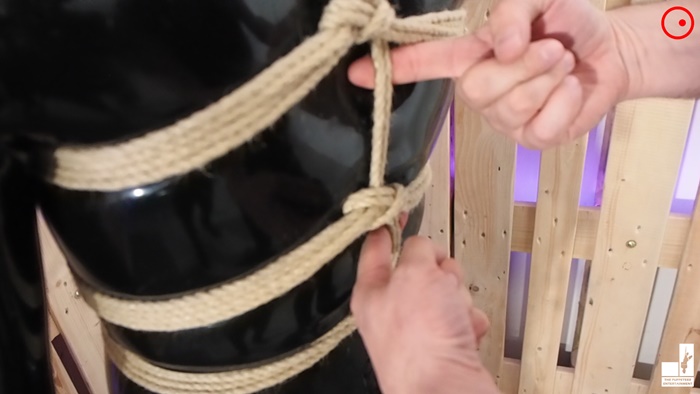
Step 1: First, make a diagonal wrap across the shoulder. Not too tight. Hook the rope into the looped end. Make sure that you have the positions right, and you don’t cut off blood flow.
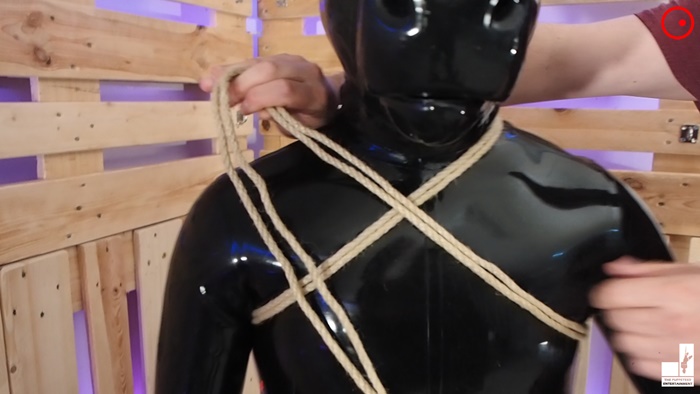
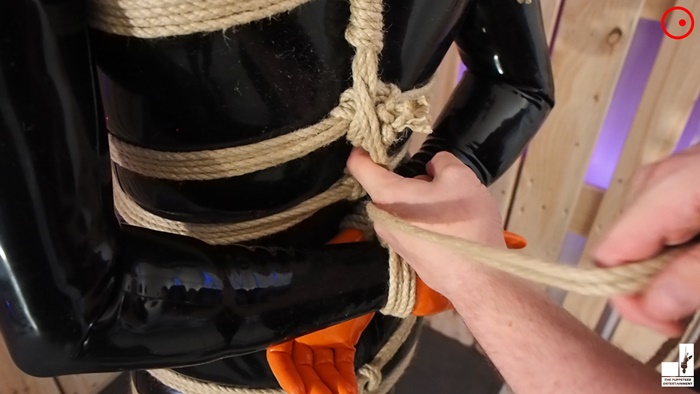
Step 2: Then, go with your rope under his other shoulder to the front over your wrap. Hook in your finger under the wrap, and pull in your rope.

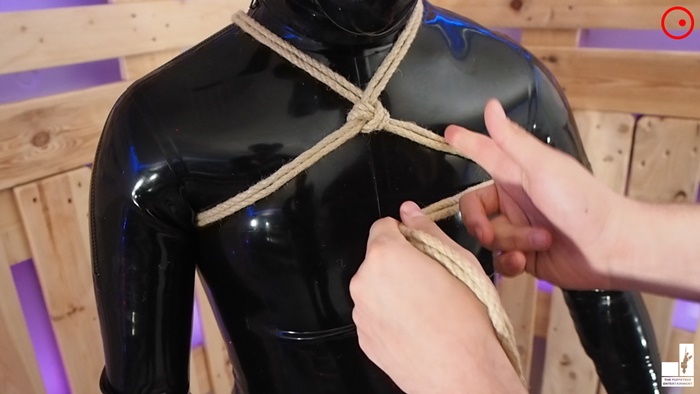
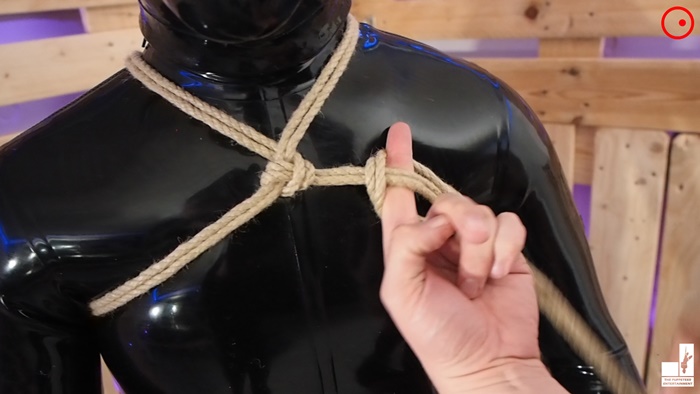
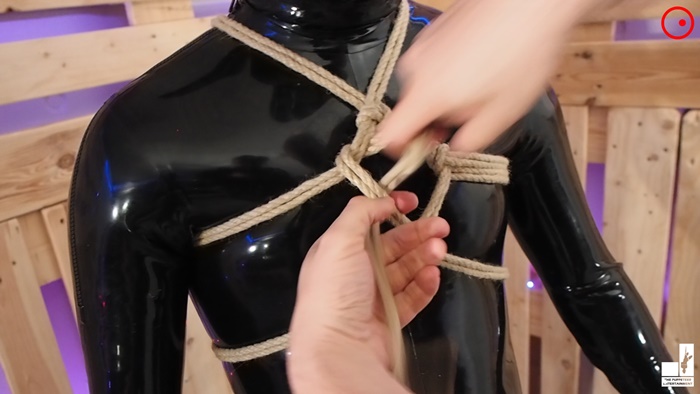
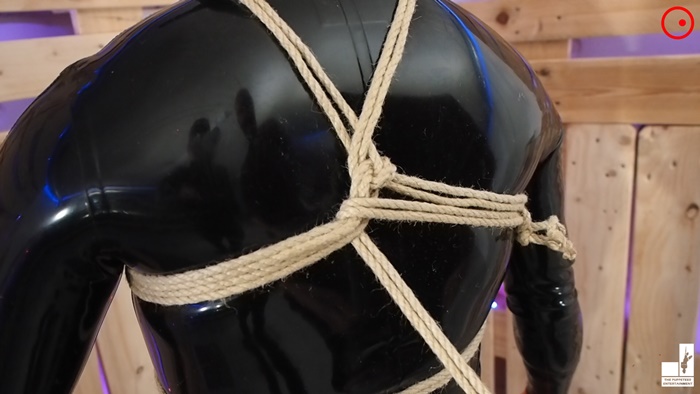
Step 3: Go with it over itself, and then under the wrap to the left again, on the shoulder where there isn’t any rope yet. Now go with your rope over this shoulder. Make sure that the knot is in the center.

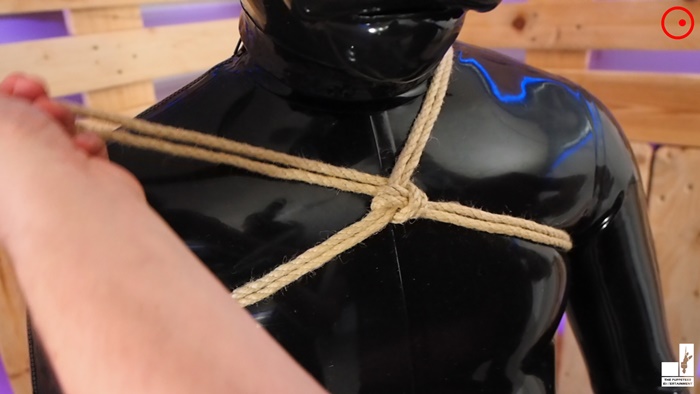
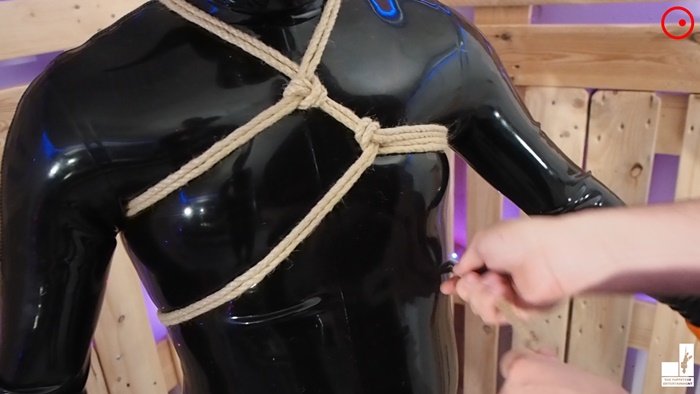
Step 4: Hook in your rope besides the looped end. Make sure its after it, and not before. Afterwards, go with it over the loop, and hook the rope in there as well to stabilize it.


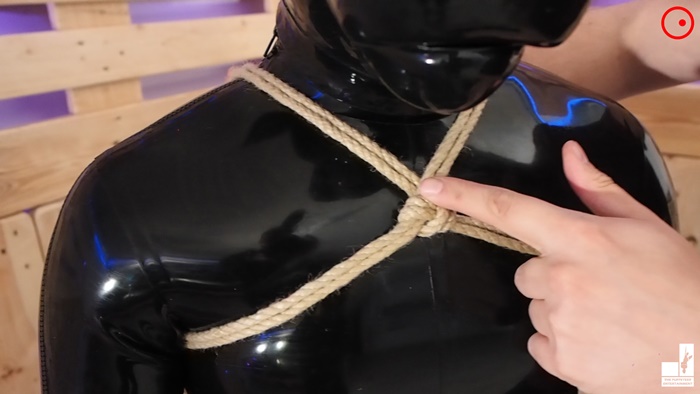
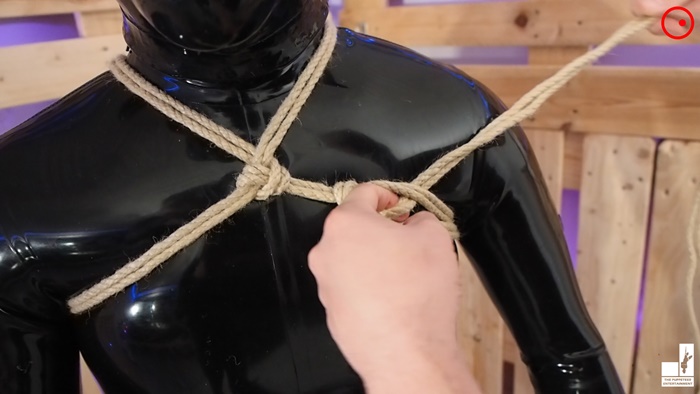
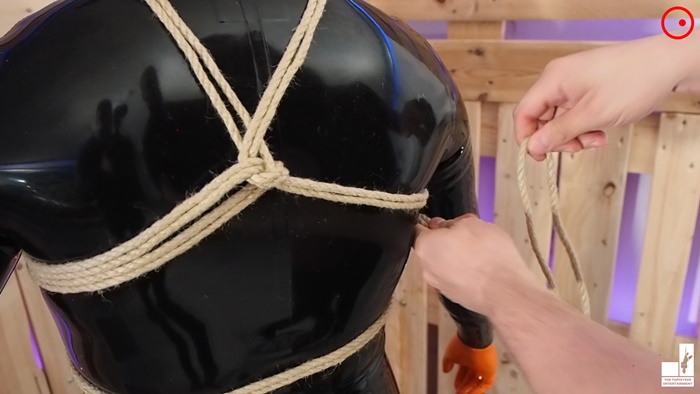
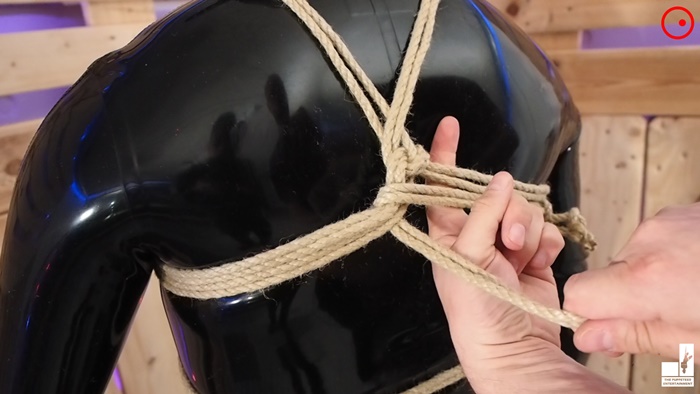
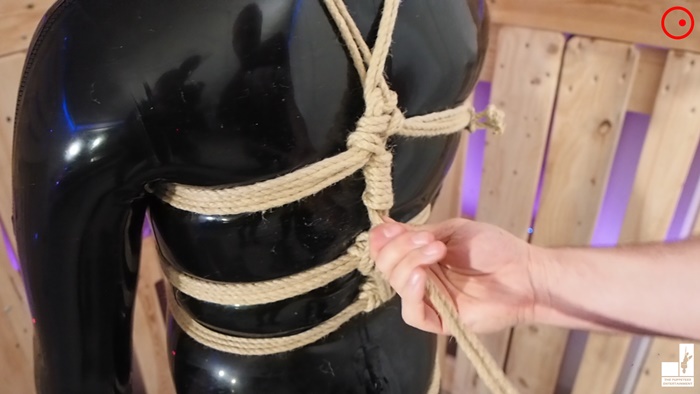
Step 5: Go under the arms again. Follow the first rope you got there. Then make another knot, around the Middle of his pec muscle.
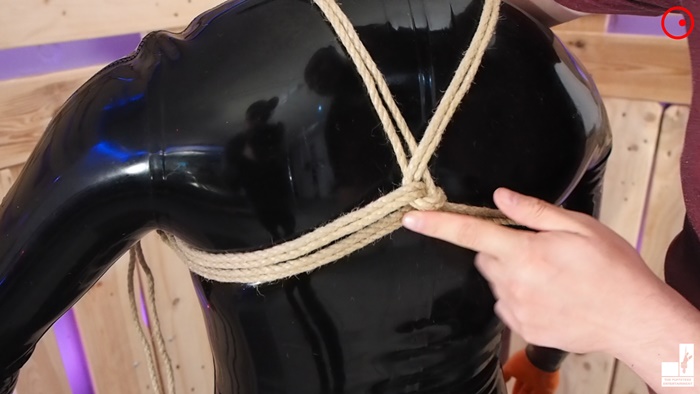
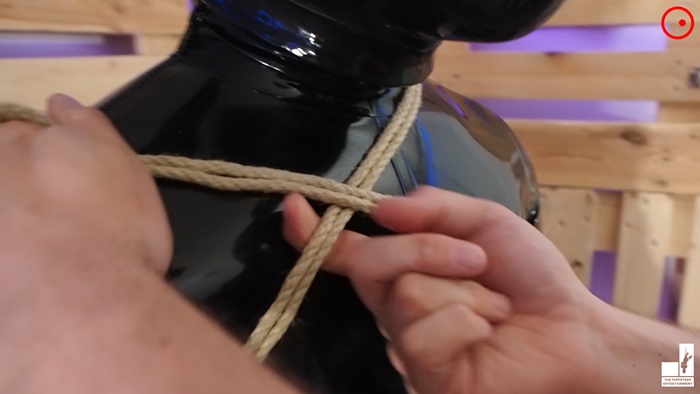
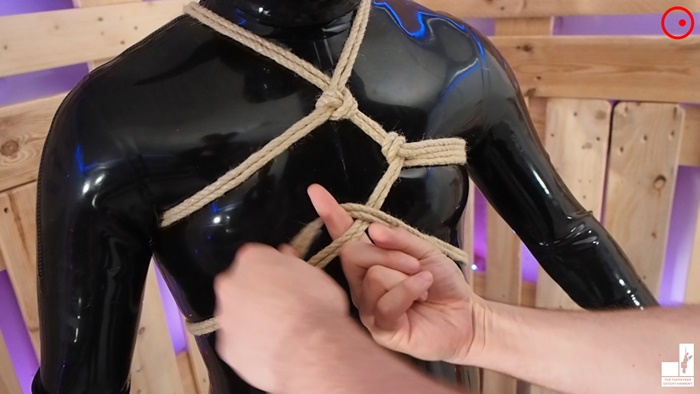
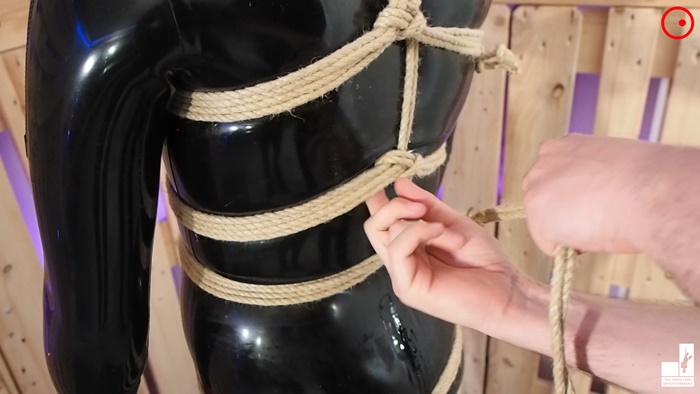
Step 6: Hook your finger in there, and put your rope underneath it. Then go over the wrap, under the finger on the other side and pull it back out again with it.

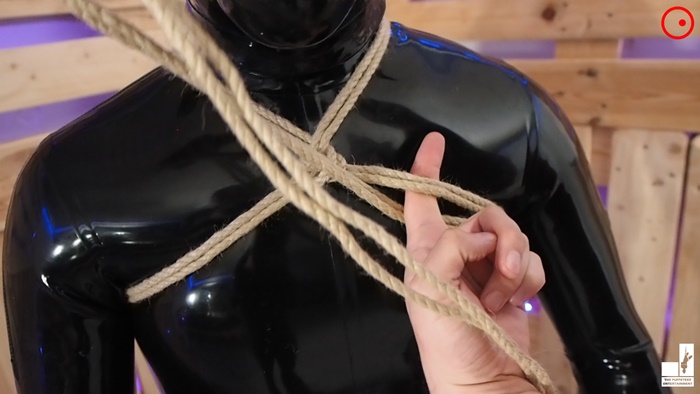
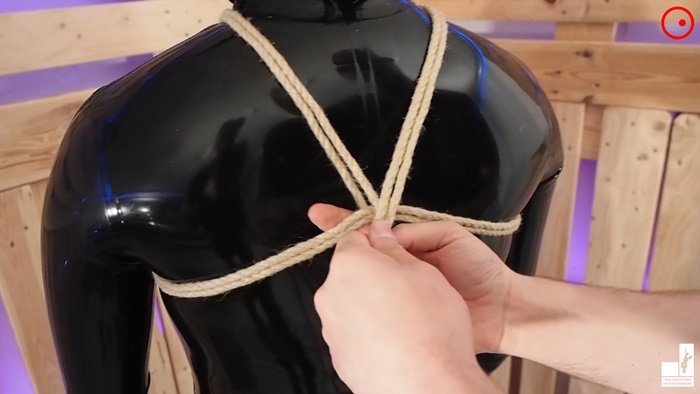
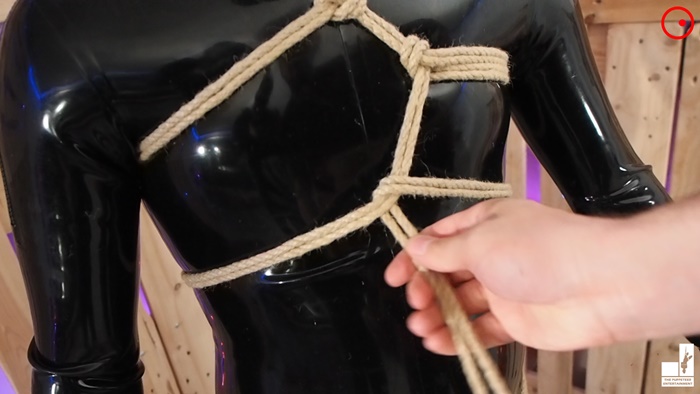
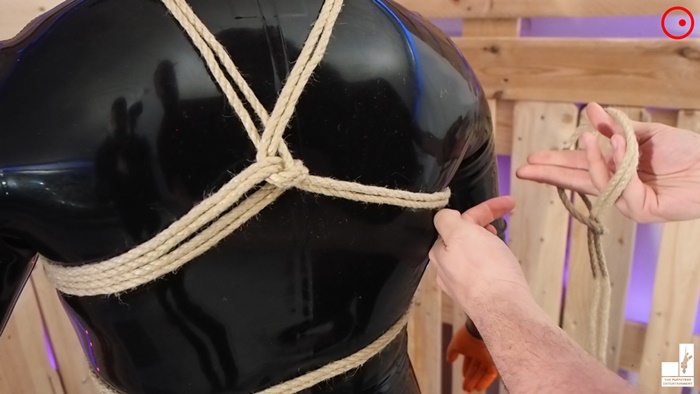
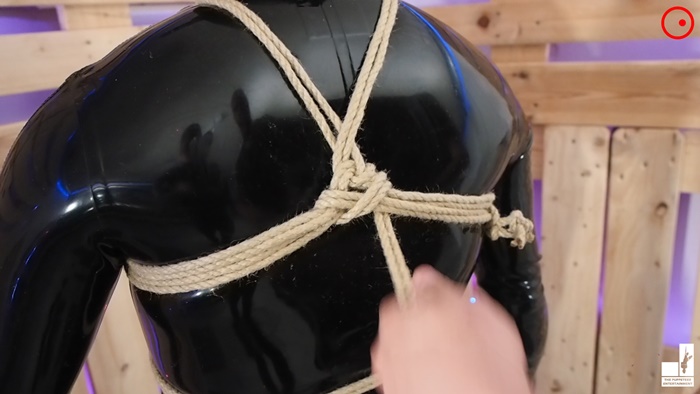
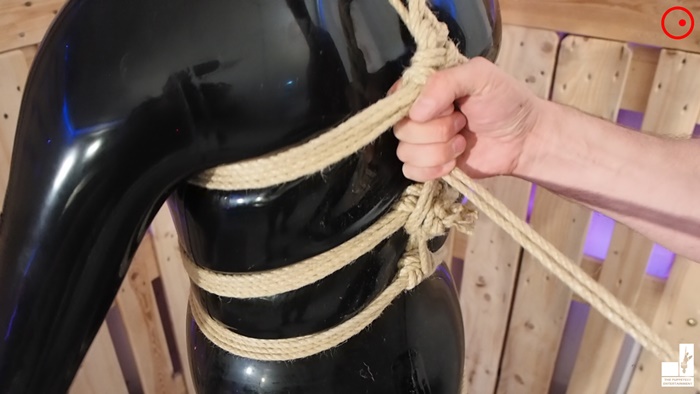
Step 7: Now, go all around his body under the arms, lower this time. Hook it in itself in the middle of his chest.
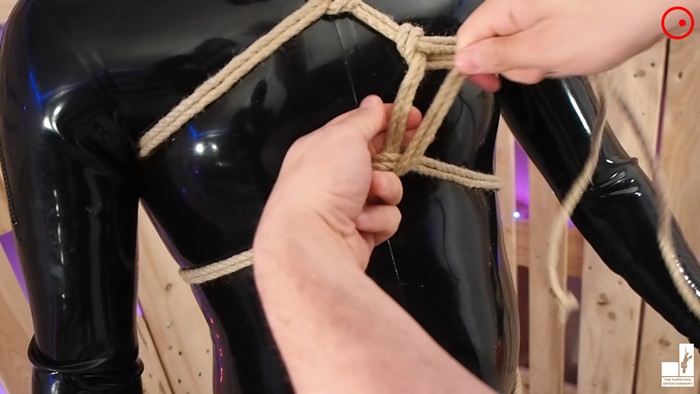
Same procedure. Over. Under. Over itself. Under Left.


Step 9: Go up to the first column you did and do the same there. To the other side though.
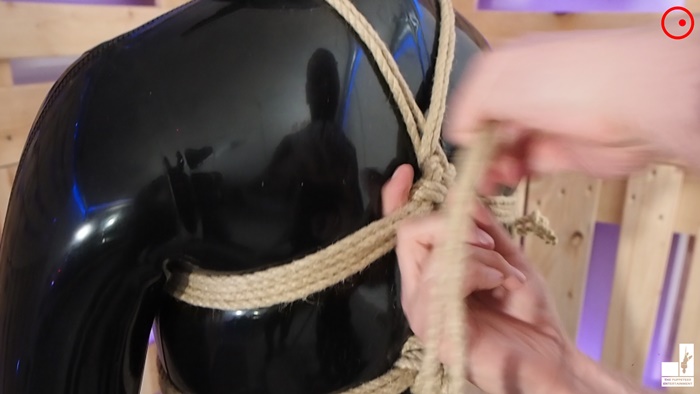
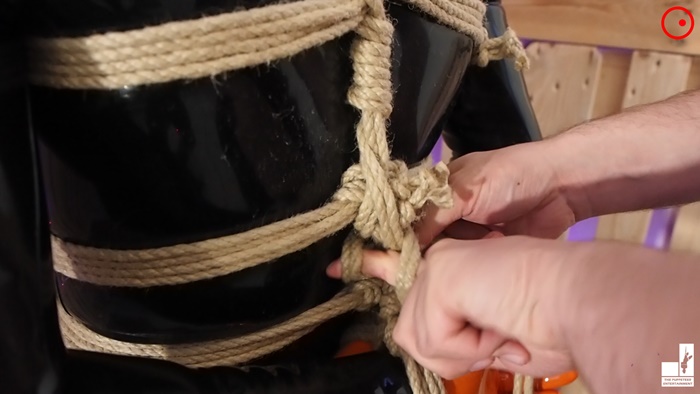
Step 8: You might ran out of rope now. To connect a new piece to it, take the looped end and make a noose. Lead the the knotted string ends through the noose and thighten it.
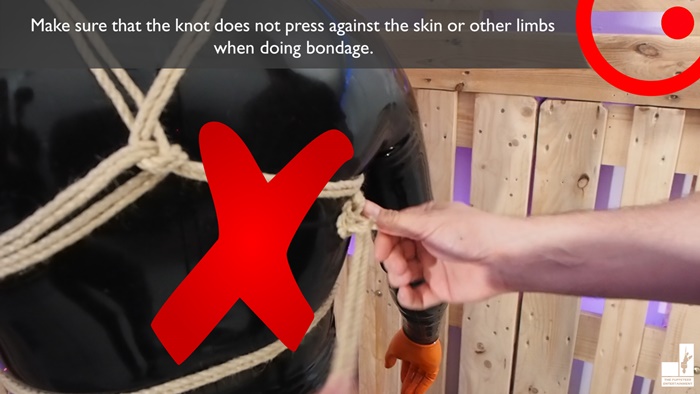
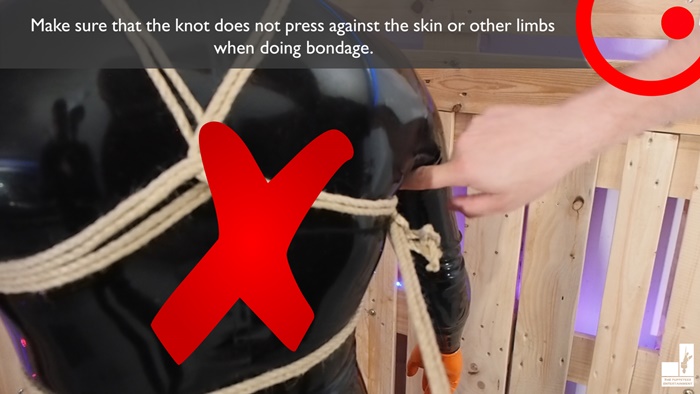
Make sure that the knot does not press against the skin or other limbs when doing bondage.

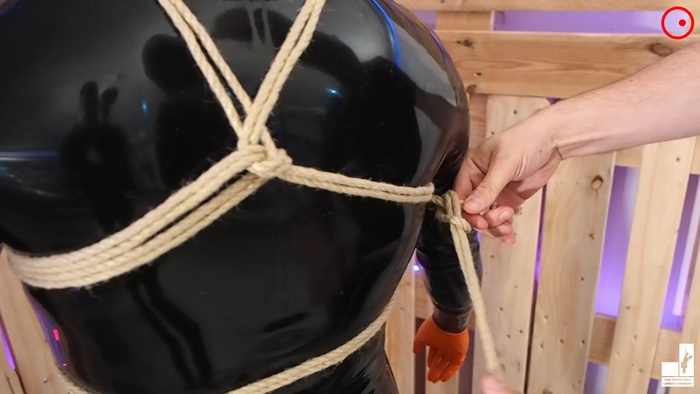
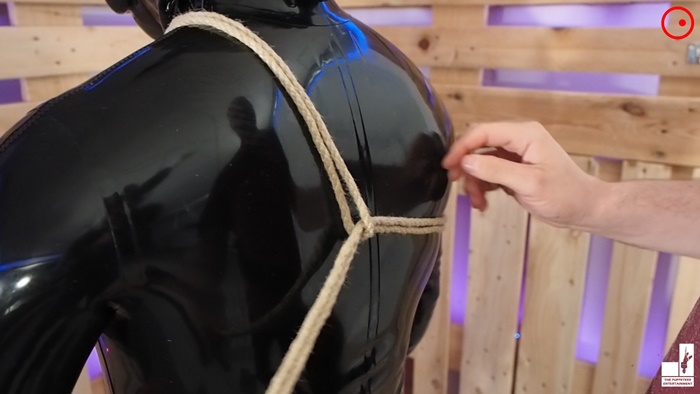
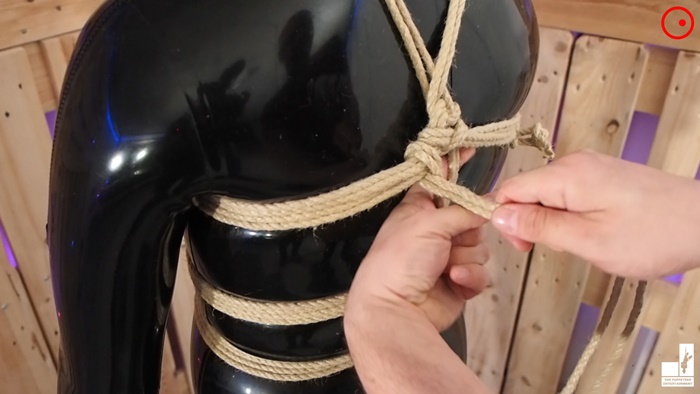
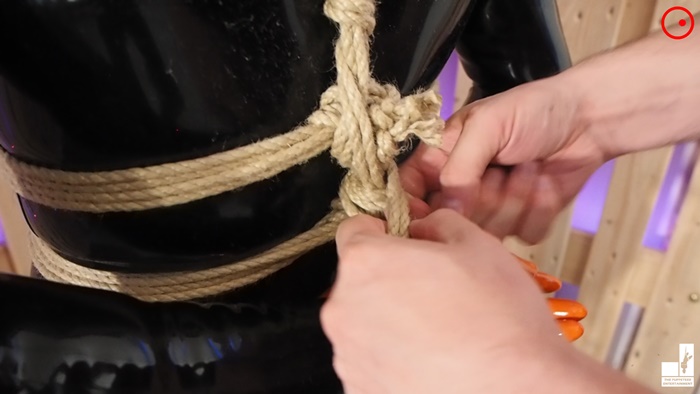
Step 9: Hook in your rope on backside now. Pull the rope out down. Then hook it into the other side of the knot too.
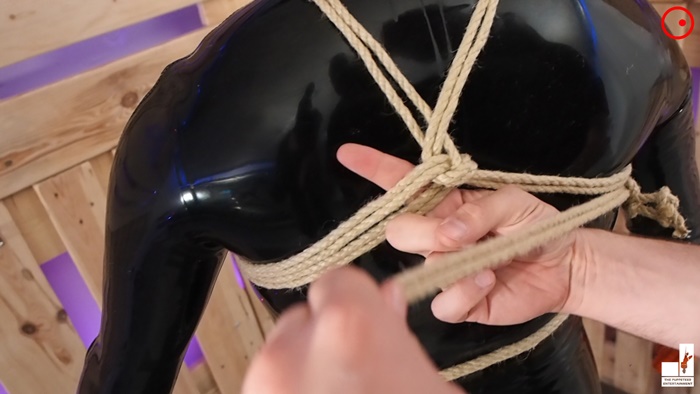
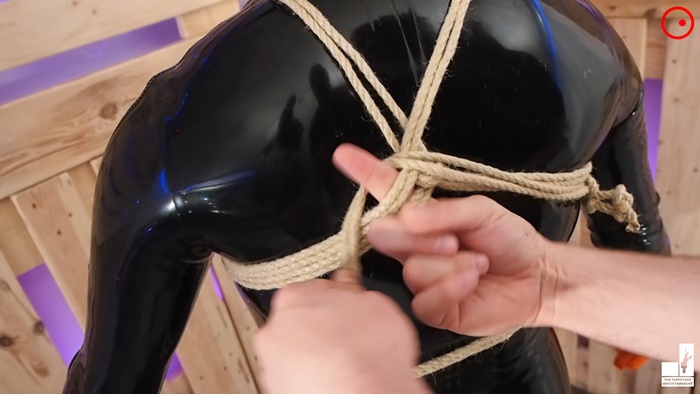
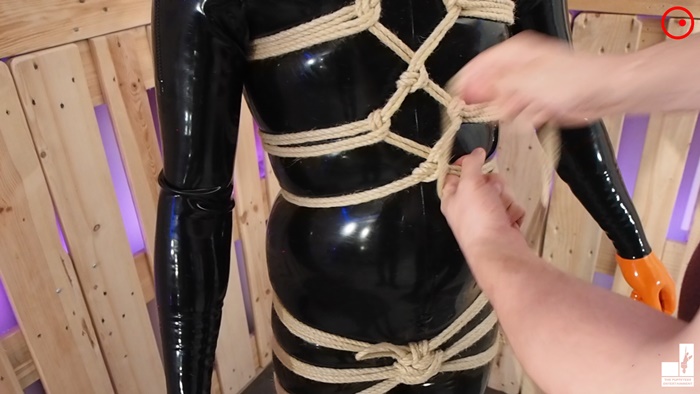
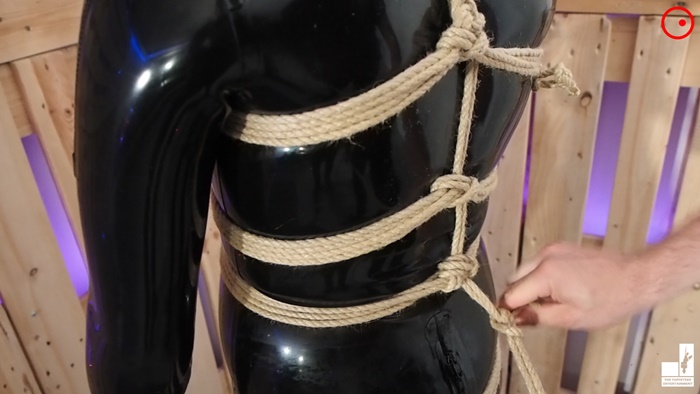
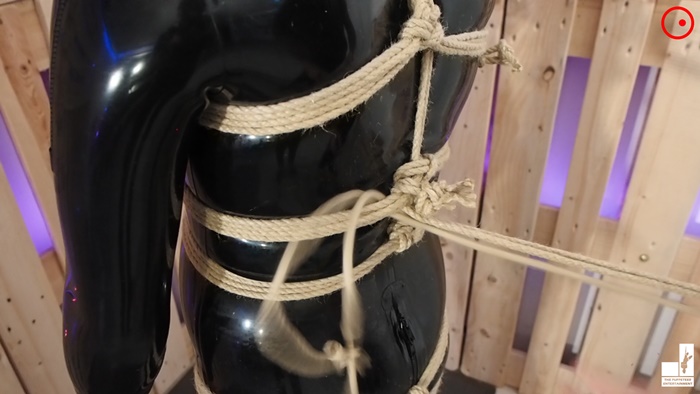
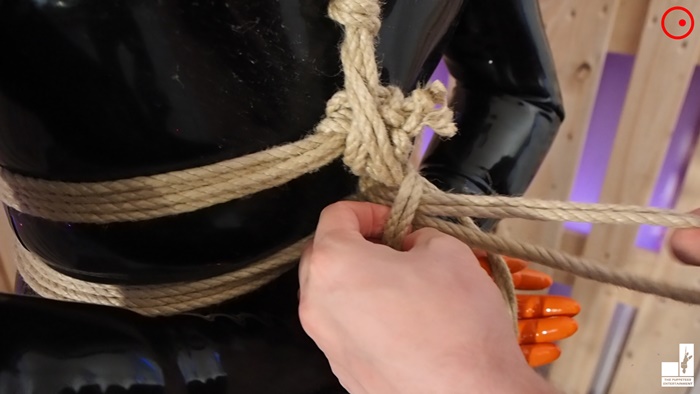
Step 10: Now take the rope downwards, to your second body wrap, and hook it in there as well. Take your rope over the string downwards his body, and go with it to the front of his body.


Step 11: Now repeat the knot actions you did on the first row. Finger, rope under, over side, under finger, pull through.
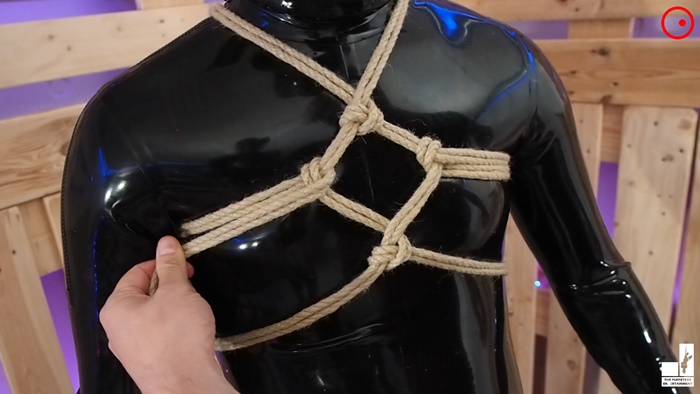
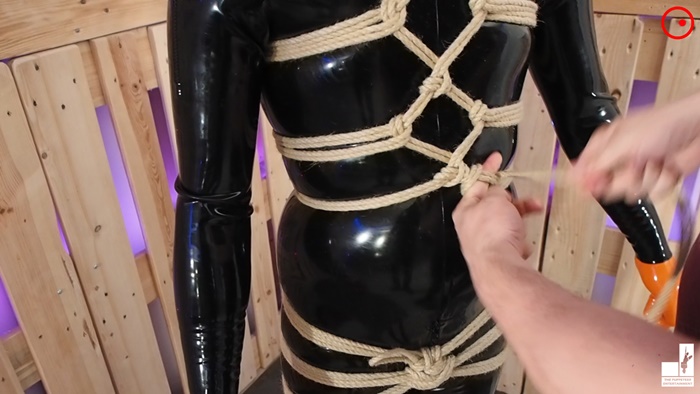
Make sure the knots are aligned aesthetically, and go across the side and around the body again.

You can repeat this method until you covered his torso entirely. For demonstration purposes we show you how you can end it beforehand.
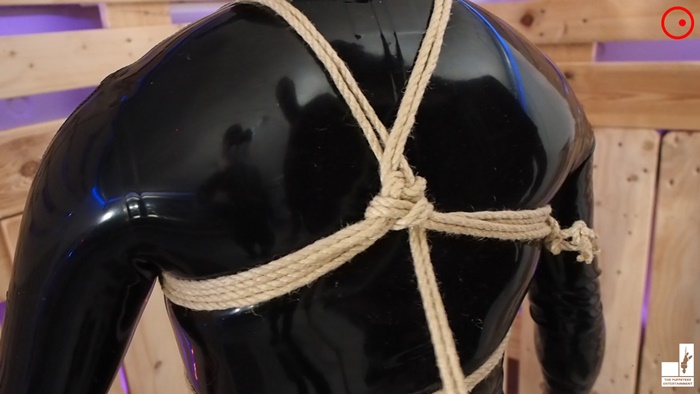
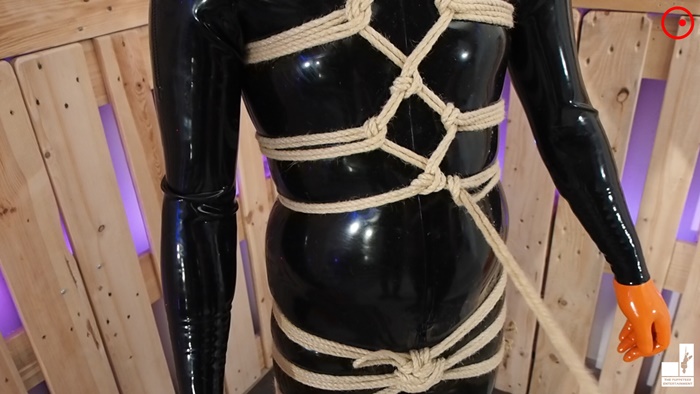
Finishing Your Harness
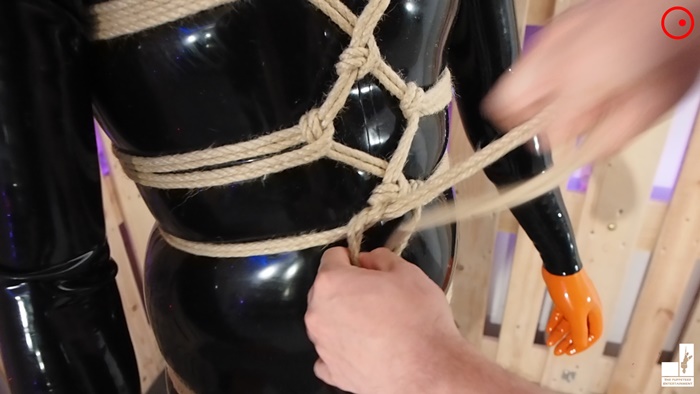
Once you’re on the step of having made the downwards back strap and going to the front of his body, just hook it into the sides of the middle knot.
Go to his back strap once more, and hook it into the sides there as well. Take the ends, and lead them through the last hook or wrap you made,then thighten it. You can hide them a little more if you like.
Congratulations, now you got a nice Harness!

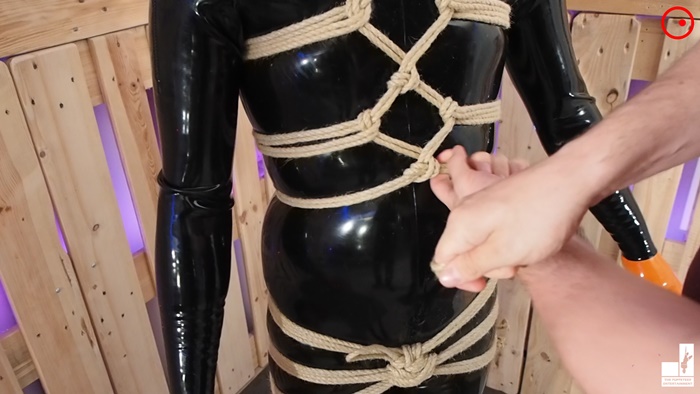

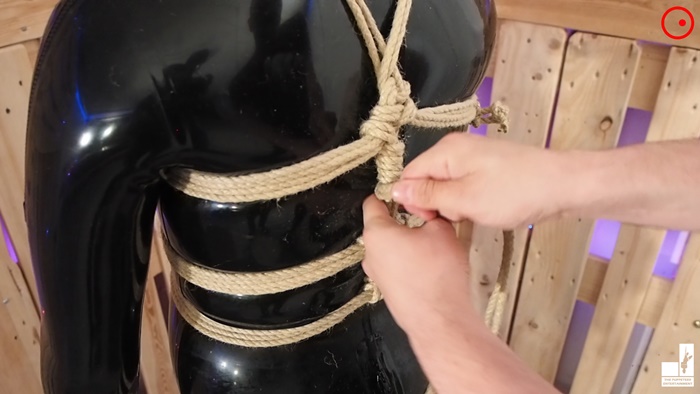
Suspension Proofing And Hand Tie
If you plan on doing suspension bondage, you’re not quite finished yet. Because for suspension, it’s always recommended to have more than 2 strings for support.
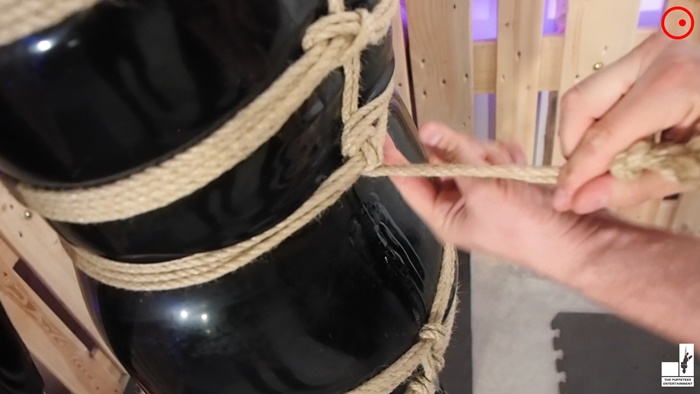
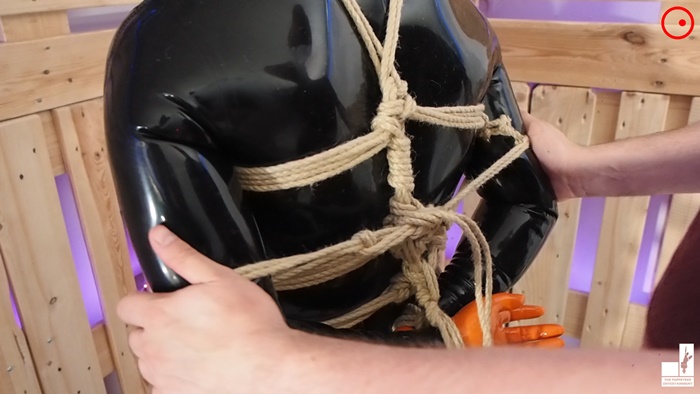
So let’s connect another piece of rope to your finished one, and hook it in first on the side, and then on the lower connection straps on the knot above. (If you didn’t finish it there, you can also make a knot on the middle to connect it and skip this step).
Then hook it in on the upper row, and start wrapping it around the backstrap all the way down.


This will create a really sturdy suspension point that focuses the weight across his chest.
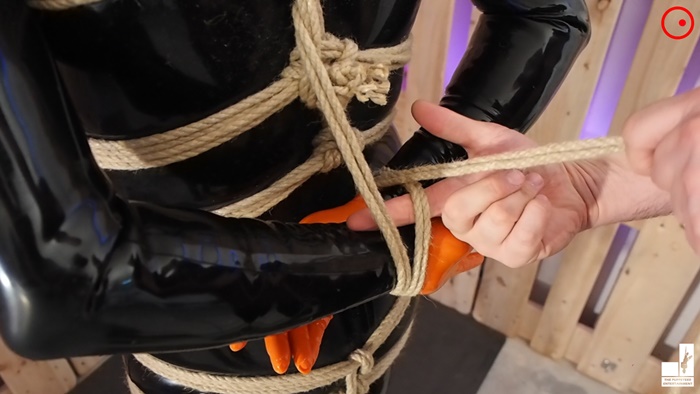
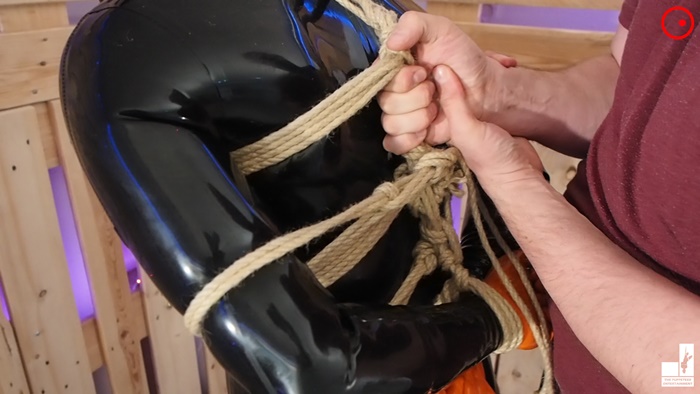
Should you want to, you can also tie up his hands. Take them behind his back, lead the rope around it two times.


Go over the first rope, then under both of them.


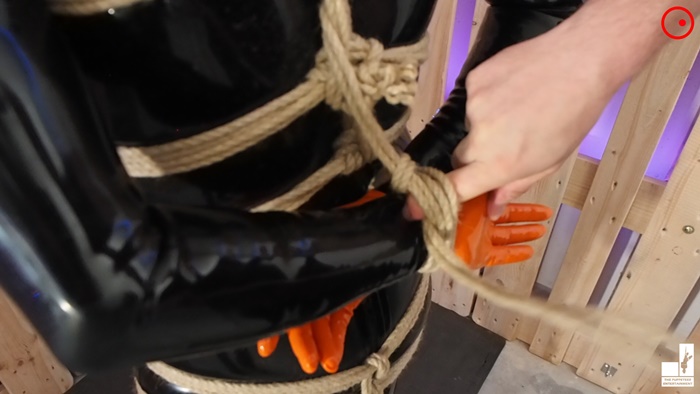
Over and behind them.
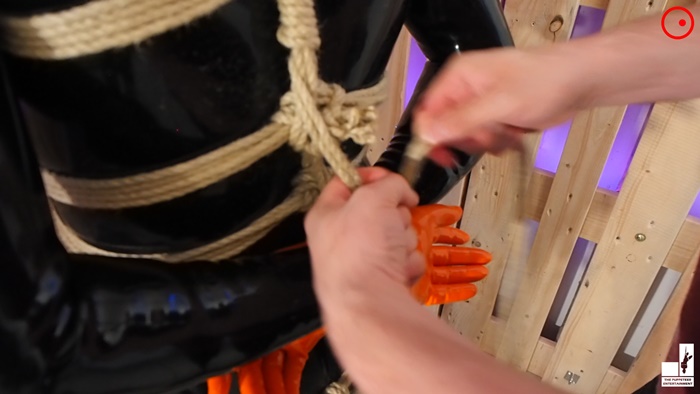
And lead it around between his hands. Hook it in above the hand knot and lead the hook down onto it.

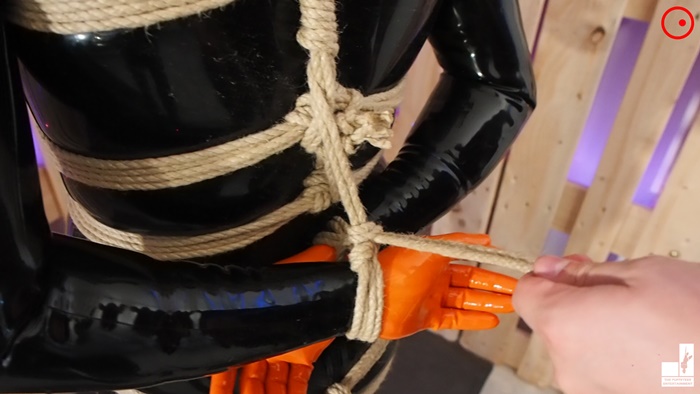
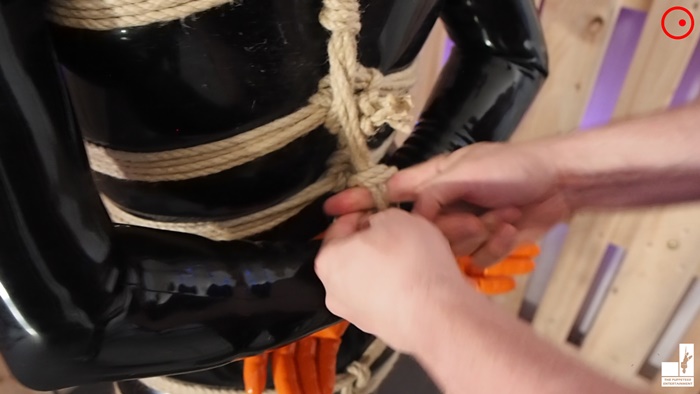
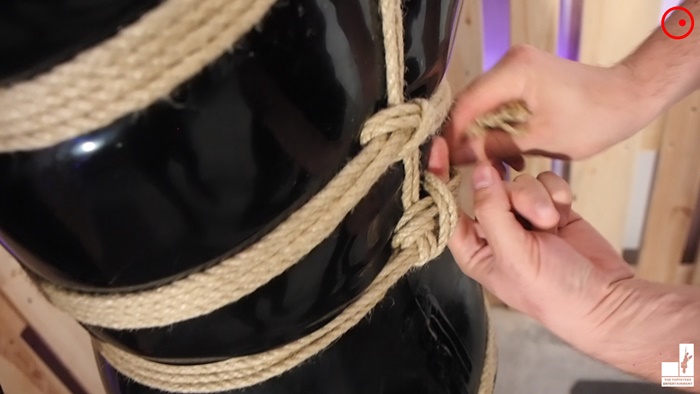
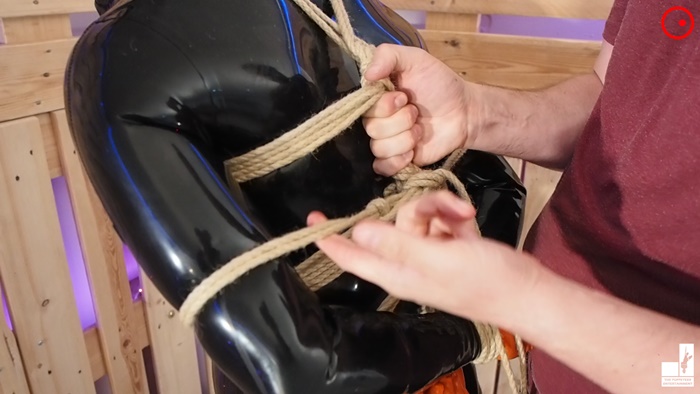
He still has some room to wiggle now. If you want to fix them even more, hook in your finger around the hand strap on the back strap.
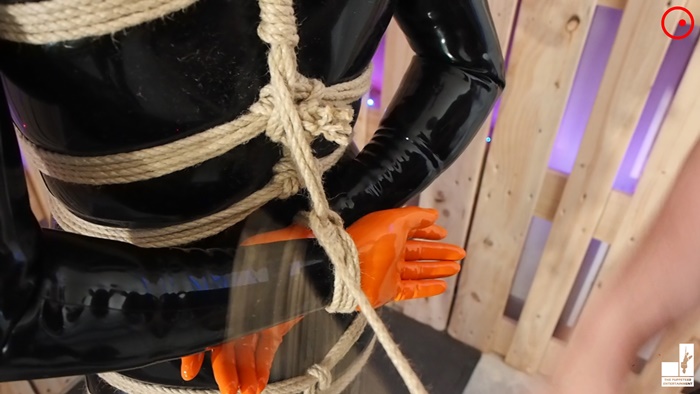
Now lead your rope over your hand behind your finger, and partially pull the rope out under the backstrap with it.
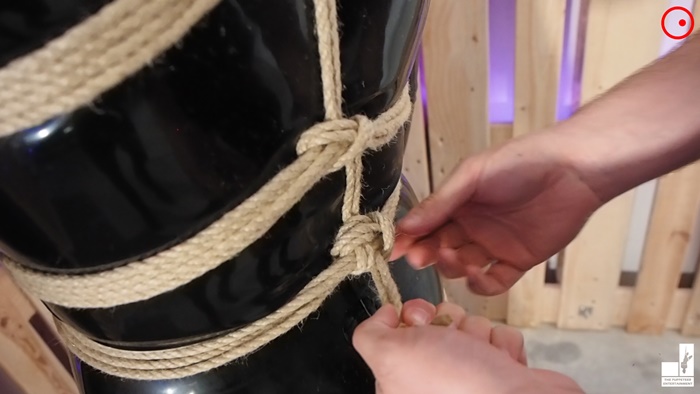
Stop and lead your rope into the loop space you created.


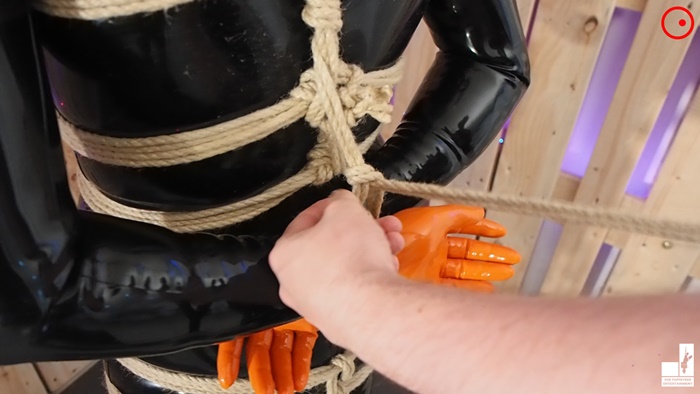
You might still have a lot of rope left now.
One idea to get rid of it could be to secure his arms a little bit more and hook it in on various places towards the middle.
If you plan on doing suspension, make sure that you won’t move or put pressure on these places and arms.
Now you’re done! Congratulations, you’ve made a cool looking harness. If you still haven’t done it yet, maybe also make the hip harness part! Or go and have fun with your sub 😉 Your choice.
This lecture has been presented by:
The Puppeteer
The model was:
Cow (Pup) Cassy
Produced by:
se7en (KINKFINITY)