
GENERAL KNOWLEDGE
ON BUILDING A PLAYROOM
Presented by:
LOKI
Loki is a top with a passion for rubber and rope. And you can see more of his stuff on his website , twitter and tumblr!
Ever dreamt about building your own dungeon, but don’t know how to go about it? When Loki built up his private dungeon, he learnt quite a bit about good ways to go about it. And it looks hella cool from what you can see in his pictures. Here’s some experiences from what he shared from his builds:
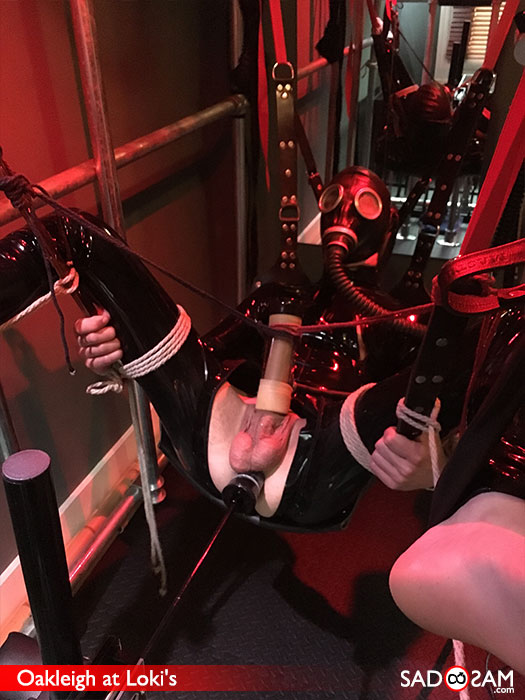
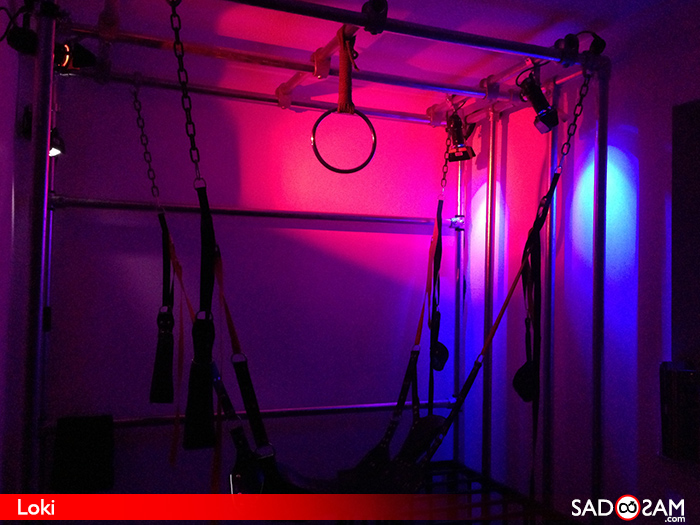
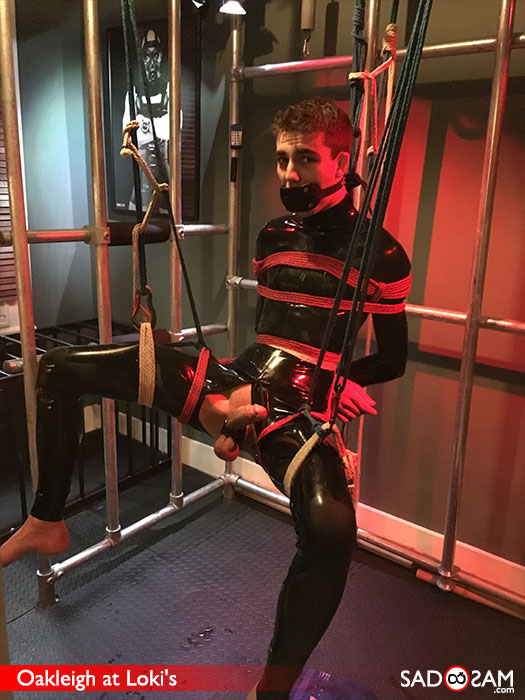
We had a pretty limited area to work in but wanted something to replace our sling frame with something a bit more versatile for rope work (bars to tie to and strong enough to suspend from) but also still able to hang the Master U sling from.
The room isn’t particularly big and a door is inconveniently located in the middle of one wall but what we’ve ended up with actually takes up less room than the sling frame.
We settled on a metal tube/clamp system – this looks like scaffolding but is actually designed for permanent installs of things like guardrails and ramps.
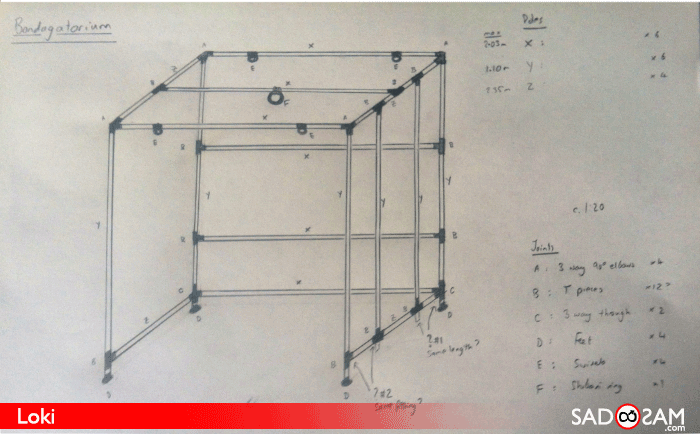
There are a few suppliers of the stuff (see the list at the end) and most will cut the tube to length for you – the clamp fittings themselves come in various shapes so you can build out whatever structure you like and all just slots together with an allen key and grub screws.
We’re using 42mm OD (Outside Diameter) steel tube which seems more than strong for our purposes, but you may want to use larger diameter to span longer distances (but you can’t easily mix-and-match diameters).
Don’t underestimate how heavy this stuff is though. Especially when working at height, you’re probably going to need a couple of people to put it up. A mistake we made (although it’s worked out fine in the end) is that we tried to get all of the tubes in the same plane, i.e. the extra bondage bars inside the outer frame are joined with T-pieces. In hindsight it would have been a lot easier to use offset clamps so that the bondage bars could have been added on separately from the rest – as it was by us, it took quite a lot of jiggling and tweaking to get all the ends in simultaneously.
We also put up some mini stage lighting in the top corners that uses PAR-16 cans with barndoors, and remote controllable coloured LED 240v GU10s.
Suppliers
Tube clamp – The Metal Store | Germany: Bauhaus | US/Etc. Big hardware or Metal stores
Rubber flooring – Easimat
PAR-16 cans & barndoors – Thomann
LED lighting – LED Hut
Shibari ring – Puppy Cages
Note from Se7en: Looking for something more inconspiquous? Many wanting a hidden bondage system use a workout tower / squat rack / power cage for it. It’s less spacious of course. But at least something that can be easily explained.
Loki also made his own bondage chair, which he is, and fairly so, quite proud of.
It’s inspired by the fetters ladder-back chair (which is a lovely bit of kit) but we didn’t have space for it unless we were to get rid of the cage – but every playroom has to have a cage. We used bits of tube clamp, that the rest of the playspace is made out of, to make up the frame of the chair. The two seat pads are wood boards (actually offcuts of kitchen worktop!) covered in upholstery foam and faux leather. They’re fixed with M10 carriage bolts onto a tube clamp bracket. The backrest is simply some 42mm pipe insulation slipped over the tube.

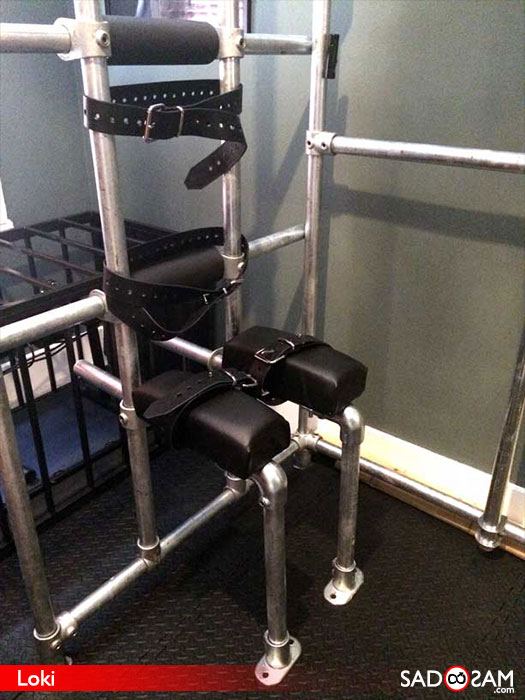
The only bit not home made are the leather straps – they’re custom made by the lovely folks at Regulation.
And when he moved into a new space, he of course had to build something there anew:
It is almost a year to the day, as I write this, that we moved into a new home. With that came the opportunity to build a bigger playroom and go for a lighter, airier space rather than the previous industrial grunge (not that there was anything wrong with that).
Having learnt a bit more about our styles of play, and how the impacts to my health had changed things, prodded us into creating a space with five recessed overhead hard points for flexibility in rope bondage, as well as a focus on two pieces of furniture: a bondage chair and a retractable table.
Note from Se7en: We are not showing how to do recessed overhead bondage points yet, as there are quite a lot of safety issues to look at when building such, for example the sturdyness of your ceiling. We’ve got something planned though. So please wait for it 😉
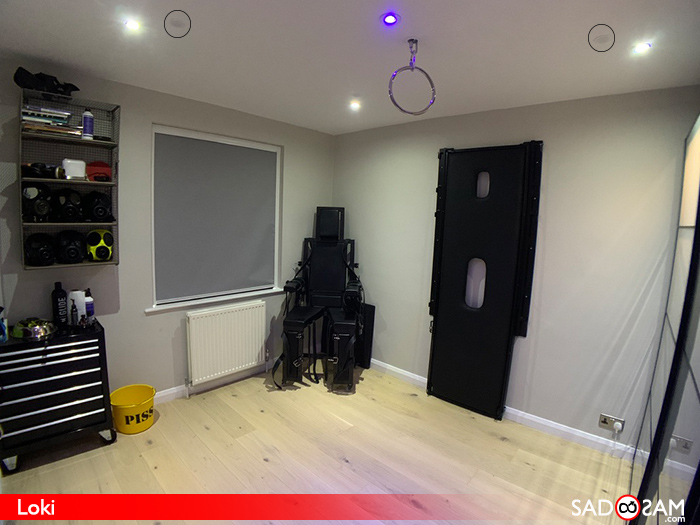
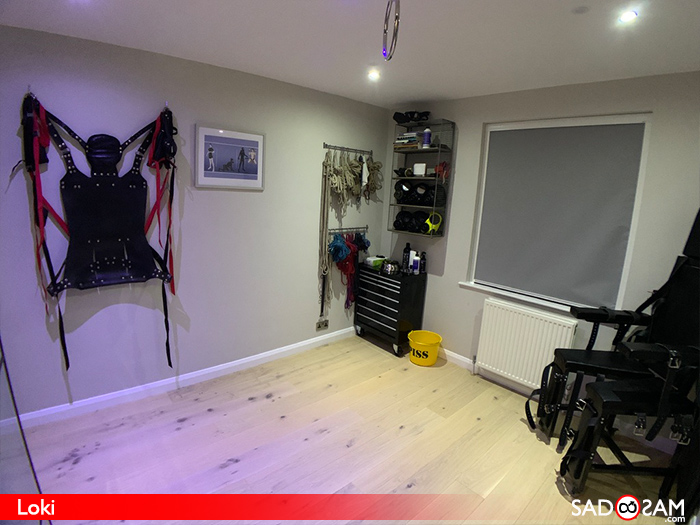
I’m really happy with the results.


